Originally the remote mirrors on a classic Mustang used small round inserts with internal threads to retain the mirrors to the drivers side mirrors. after many years and abuse some times their missing, loose (just spin) or were never used when an owner added one of these mirrors to a car that originally didn't have one. Being a rarely used tool many have no experience with these tools or the nut inserts so we figured it was about time to provide a short tutorial on how these work and how to replace one of these common inserts. As always used the appropriate safety measures during the process.
Also this is not the only tool or only method - just what I used to achieve my desired results

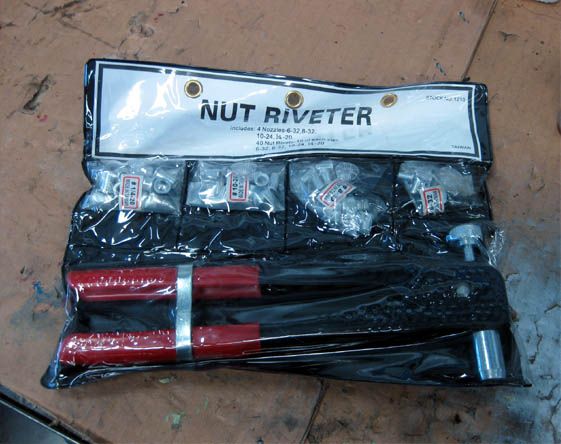
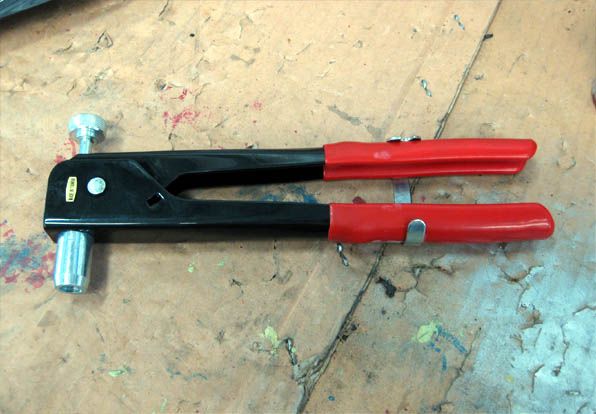
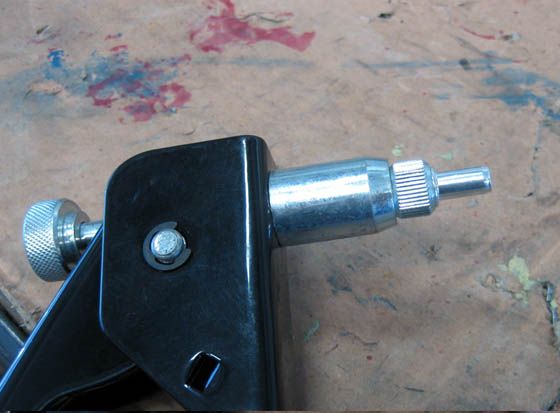
The tool - Purchased from Harbor Freight a well known affordable tool supplier in the US (under $20) Kit includes different mantels for each size insert. The installation tool and a small amount of the smaller inserts are included.
Using one of the mirror mounting machine screws to select the correct sized insert
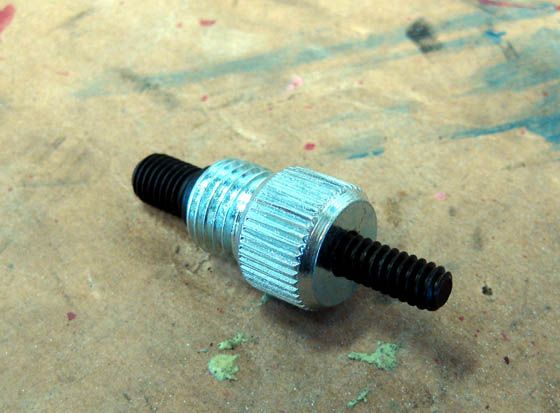
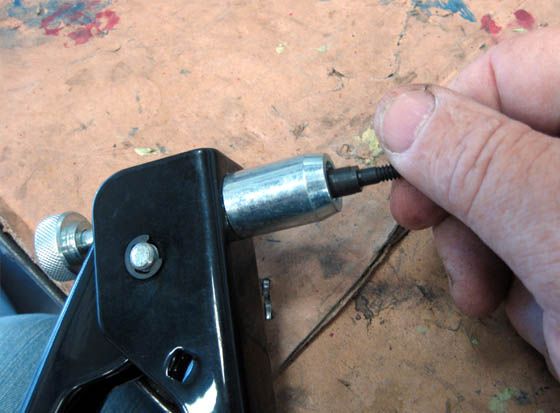
Install the mantel into the tool - in this case reverse threads
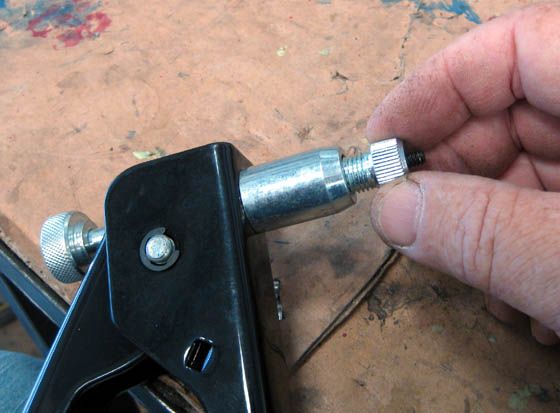
Retainer is installed next - again reverse threads
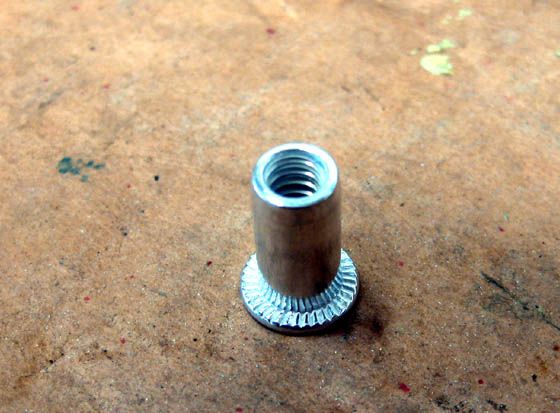
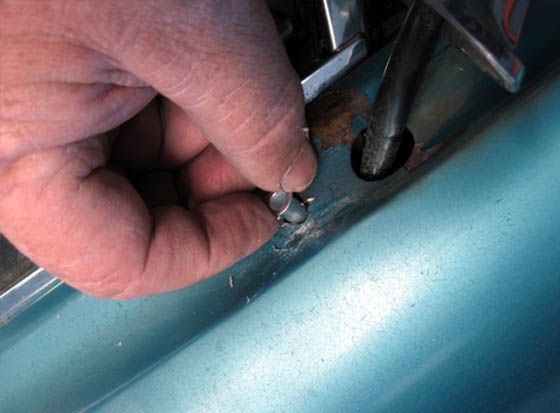
Here is what an original nut insert looks like. If the screw installs smoothly no need to replace this one. If loose you can attach the nut insert tool and squeeze it to reseat it in the hole

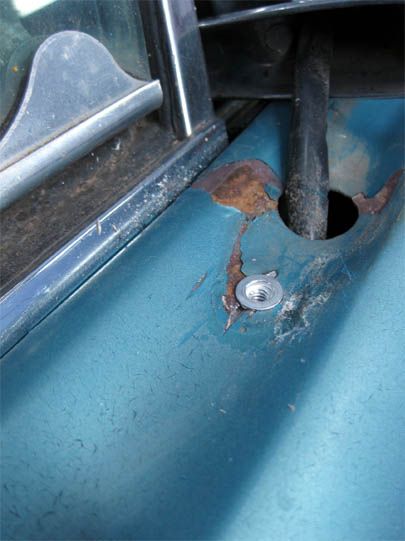
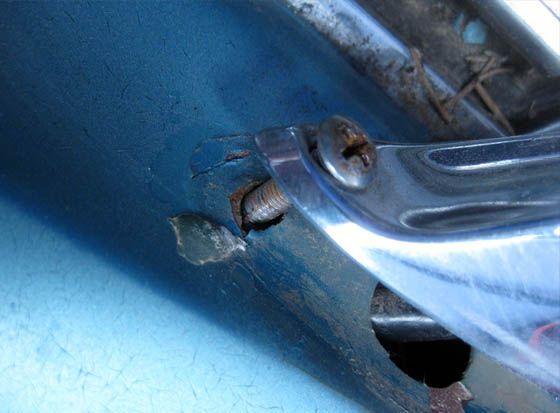
Here's the problem today. Nut insert is missing so a previous owner installed a nut from underneath making it difficult to install or uninstall the mirror or even to tighten it down without allot of unneeded effort
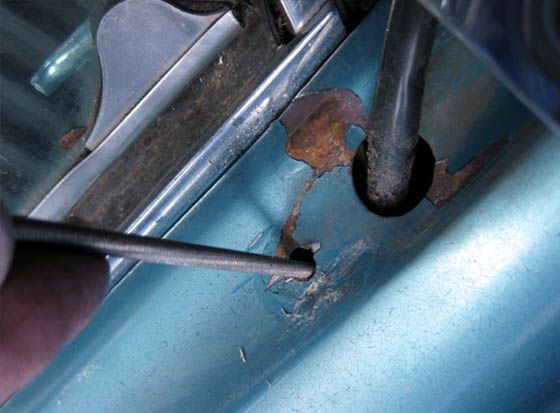
At this point the last screw is removed and the mounting hole inspected. Using a new insert the hole is found to be unevenly shaped so a small amount of file work will allow the insert to barely fit (a tight fit is what your looking to start with)
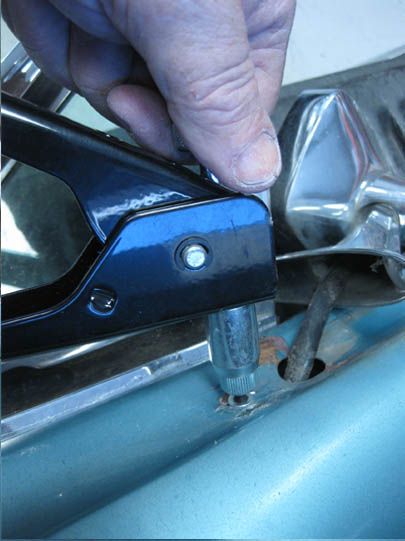
Install the rivet nut on the tool, screwing it down until the top of the nut insert is flush against the end of the retainer.
Insert the rivet nut into the hole, holding it flush to the door surface as you squeeze the handle.
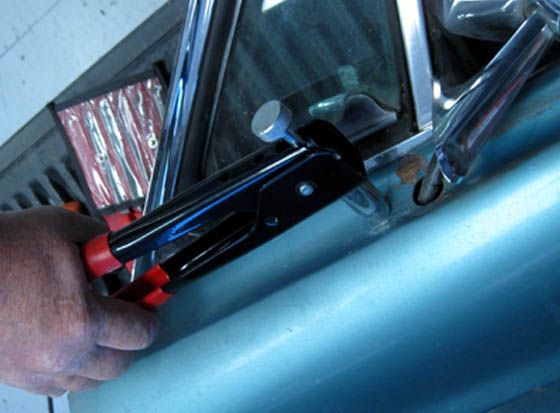
Once you've seated the nut insert and it solid, using the knob unscrew the tool from the insert
Finished. Disassemble the tool and reinstall the mirror. Yes this one will need a new gasket before we can do that.