Just want to verify that the pic of the blue overspray car's sound deadener in the above pic is correct for my Mar 2 1967 SJ car.
It covers the entire inboard wheelhouse bottom lower lip and the spray also covers some of the frame rail.
Sorry don't have the 67 San Jose undercarriage article done as of yet and the wheel wells are such a 3D section they are always the most difficult to show detail for
Use reply #4 as a guide.
If the pass of the wand came close to or passed over the lower edge of the wheel well (wheel house) at the beginning, during (for the lowest pass) or the end (typical) then spray got on the frame rail or panels behind and above. Normally there were four passes of the wand an don cars you can even make out the start of at least three of the four.
Remember that this was applied with the worker spraying from below the car so over spray would have gone inward and upward
So lets review a few pictures to help see if we can provide an understanding for you to move forward as well as other members and viewers in the future
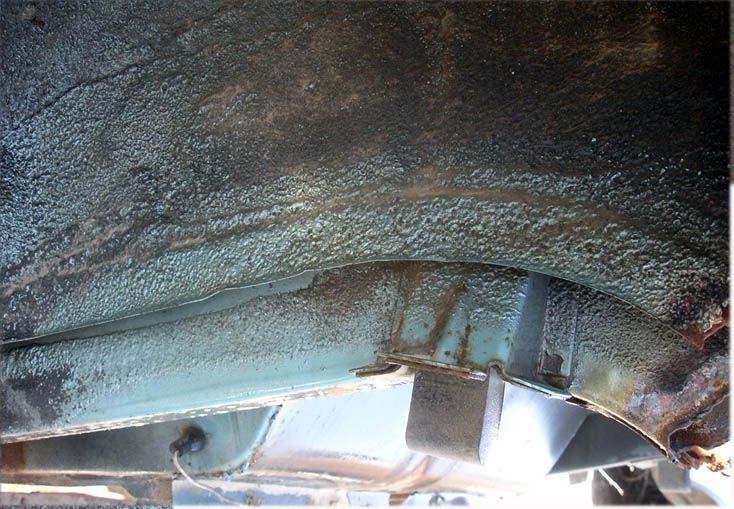
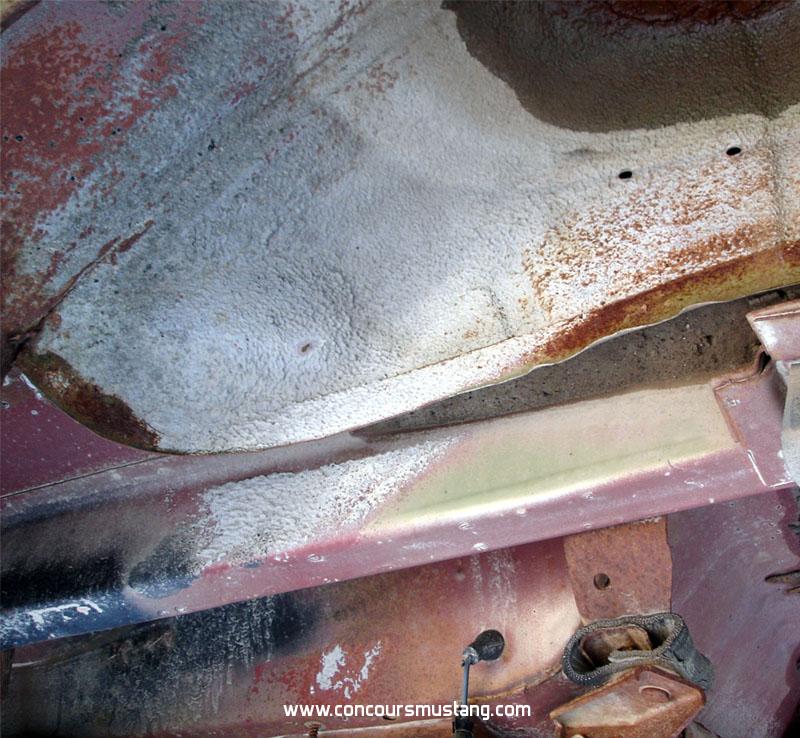
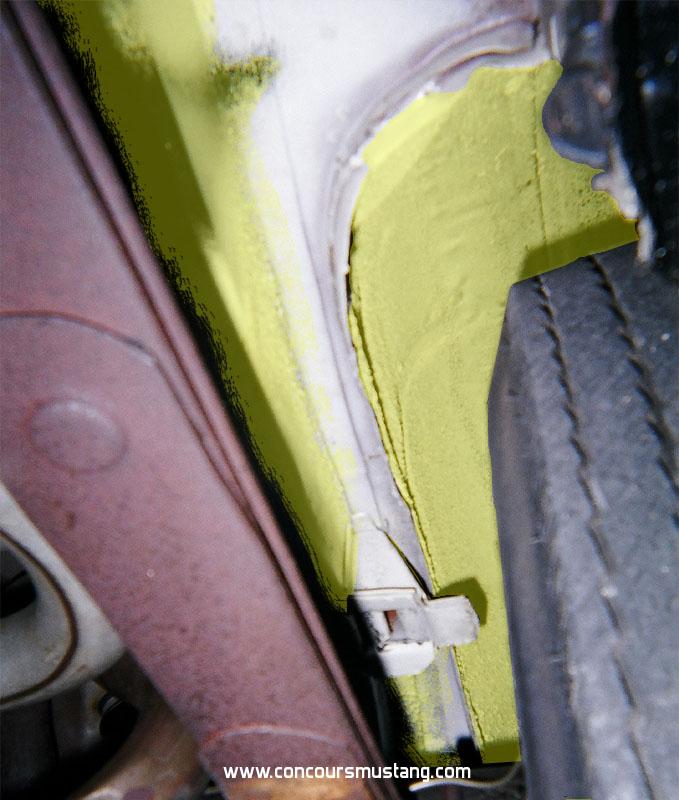
1- First there was a strip of sealant applied around the outer edge of the wheel well similar to what we see at points like rocker, inner seat belts and so on where the chalking was applied then spread with a soaked rag into an approx 1/2 - 5/8 wide strip with ridges running the length
Take notice that the sound deadener was applied just short of this over the top of the wheel arch so that no spray exited the wheel well and rained down somewhere else
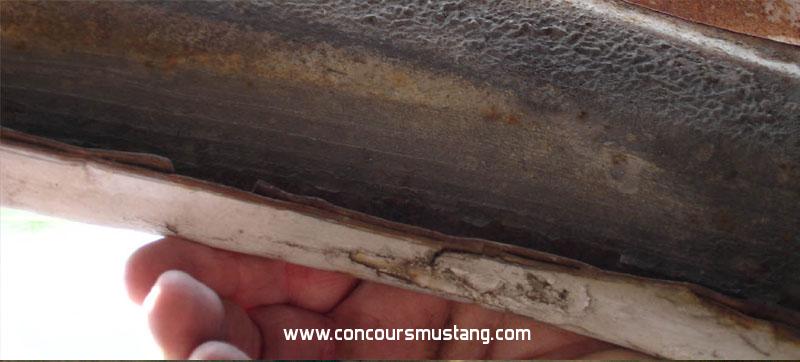
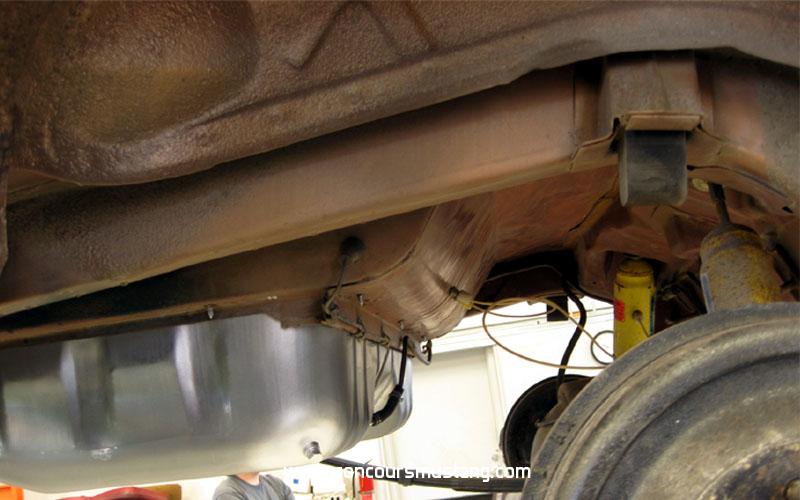
2- I wrote about (on some examples) being able to see the beginning of each wand pass or at least most of them. In the picture below you can make out three of these starts and even the width of the last/lower pass as the worker opened the gun and then moved it up and rearward in a arching pattern
So in this example it appears that the first pass would have been toward the outer surface of the wheel well (were we saw the pattern above in the sealer strip picture) the next started to the left of the picture and likely when over the middle sections and where the inner and outer wheel houses come together. The next, starting on the frame rail going over the middle section of the inner housing and then the lower finishing the task
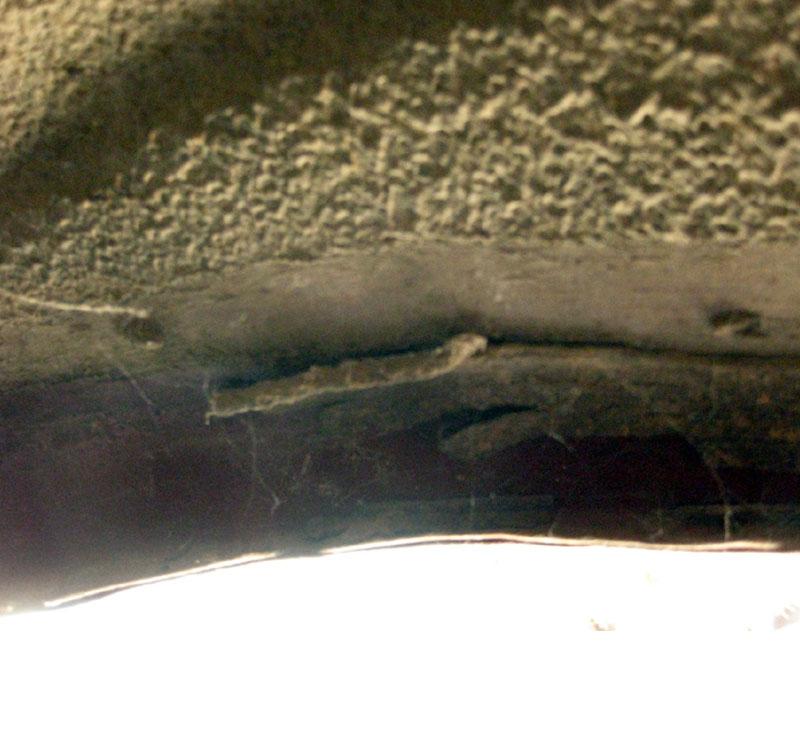
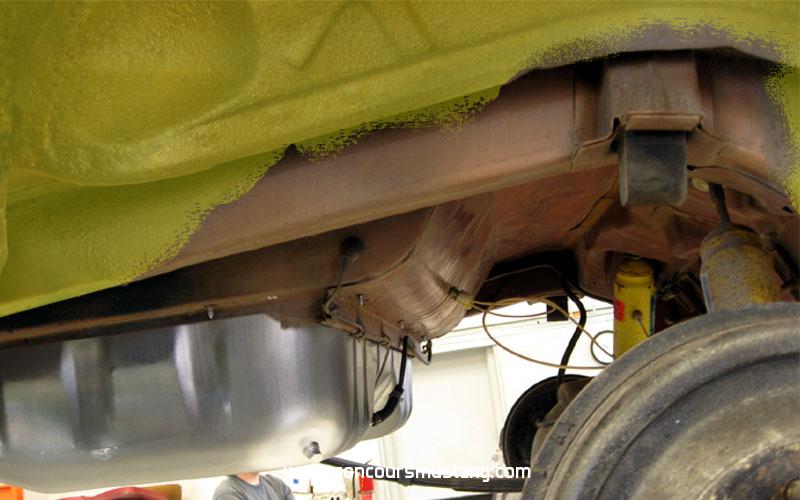
3- Now to look at the end of the passes. They would have continued to the rear edge and often blew out on the bottom of the trunk floor and possibly on the rear frame rail and possibly the inner surface of the trunk drop.
The black you see is from the rear (quarter panel) pinch weld black out process and the blow out as the gun started its pass at the rear edge of the wheel well opening. Even see the end of the pass got sound deadener on the gas tank drop floor panel
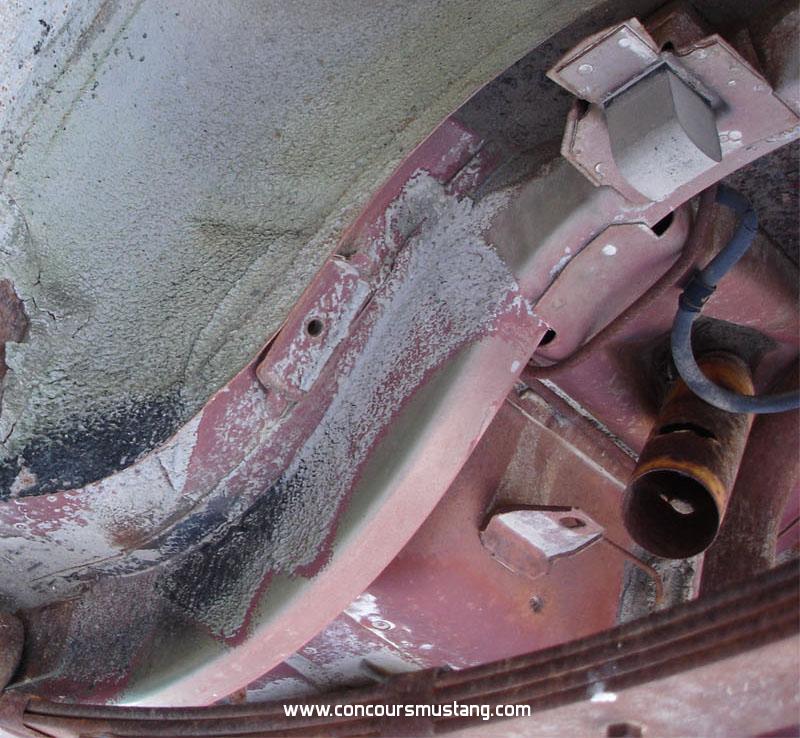
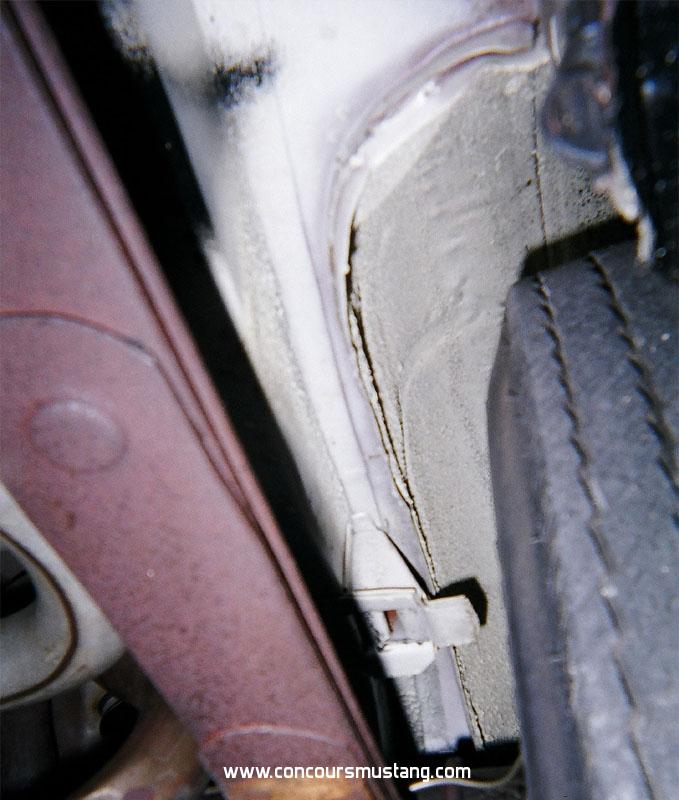
4- Now some additional pictures to round out and help understand the possibilities and human factor. But remember that there were only a handful of workers that did this task so most had habits and patterns they got comfortable with after doing tens or hundreds of thousands of cars
Hope this helps
Since this has moved to a separate thread to keep things neat


