Author Topic: Coil Spring Removal-'69-'70  (Read 7194 times)

Offline mechachy

  • Newbie
  • *
  • Posts: 6
Coil Spring Removal-'69-'70
« on: July 24, 2014, 05:03:19 PM »
As you can see, this is my first post on this site.  I’ve got a ’70 Boss 302 that I’ve been working on for the last three years and have spent most of my time on the Boss 302 forum.  I posted this tip over on the Boss 302 Registry site and thought some might find it useful here as well.

I've begun the not-so-fun task of removing the front suspension to not only replace all of the tired pieces but to detail the front chassis as well.  For a project such as this, you can’t get very far without the removal of the coil springs.  If you talk to just about any mechanic, the smile quickly leaves their face when you ask them about this job.  When I saw a video titled How Not to Die Removing a Mustang, Falcon, Fairlane Front Suspension () and then read on this forum how someone was killed when the spring let go and hit him in the chest, I knew for sure that this was serious business.

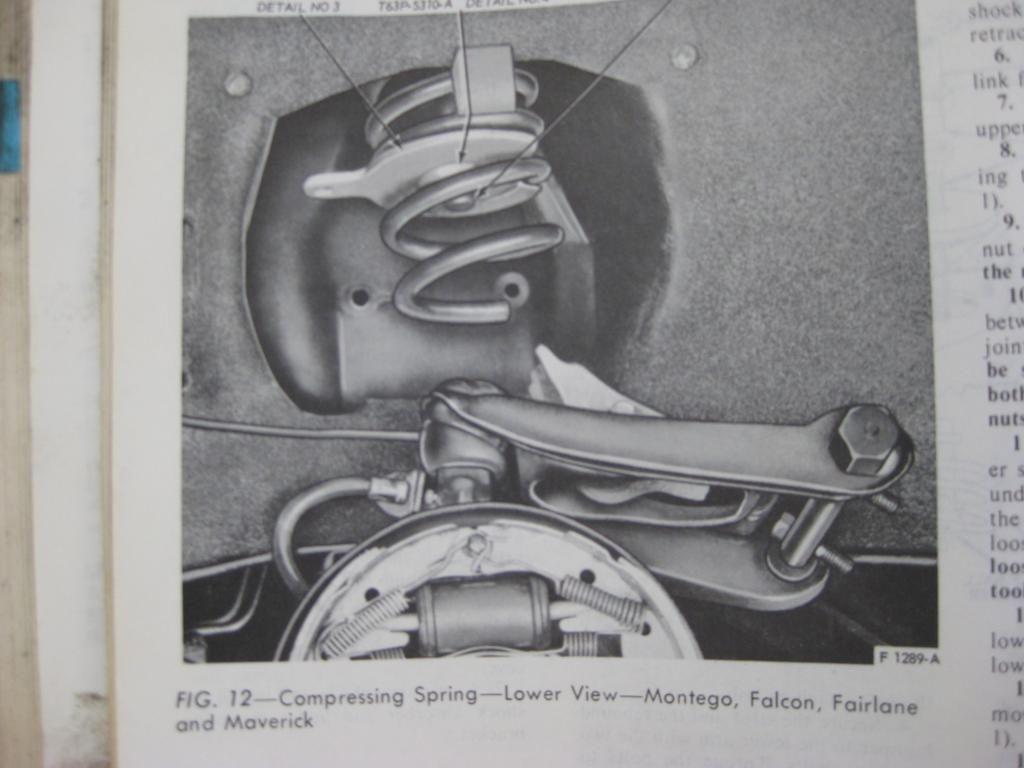
The original Ford shop manual calls for a different method than the one used in the above video using a special Ford tool.


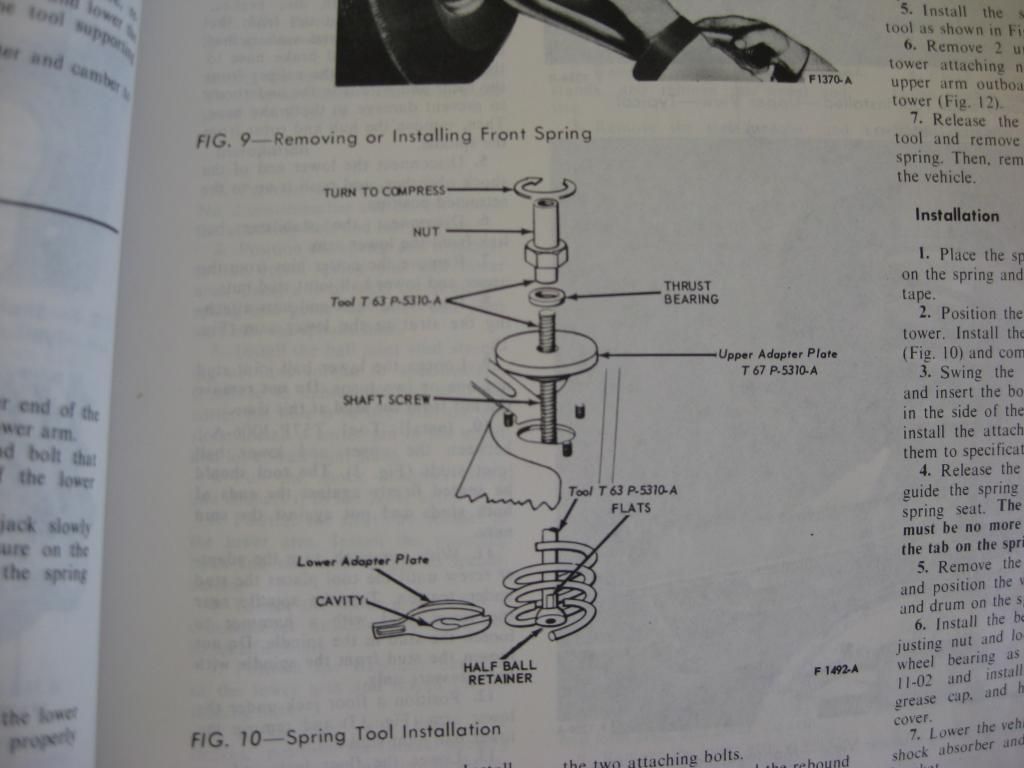
You then compress the spring until it clears the upper A-arm, disconnect the A-arm from the spindle and pivot it out of the way on its own ball joint. 


The spring can then be de-compressed and lowered out. 

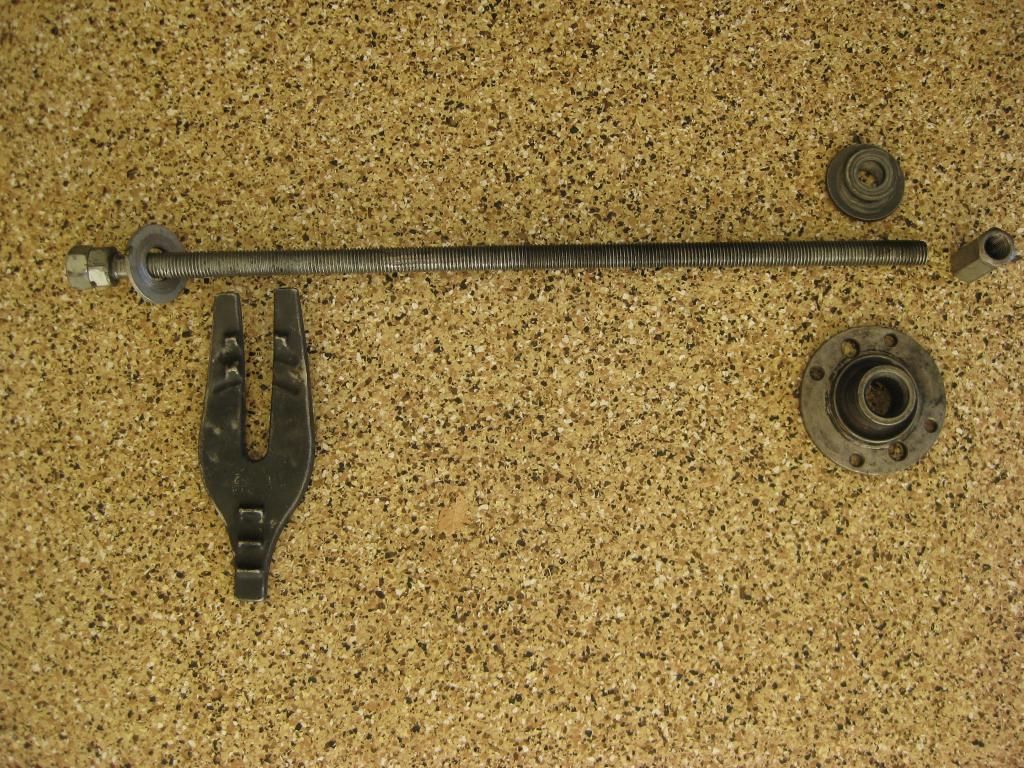
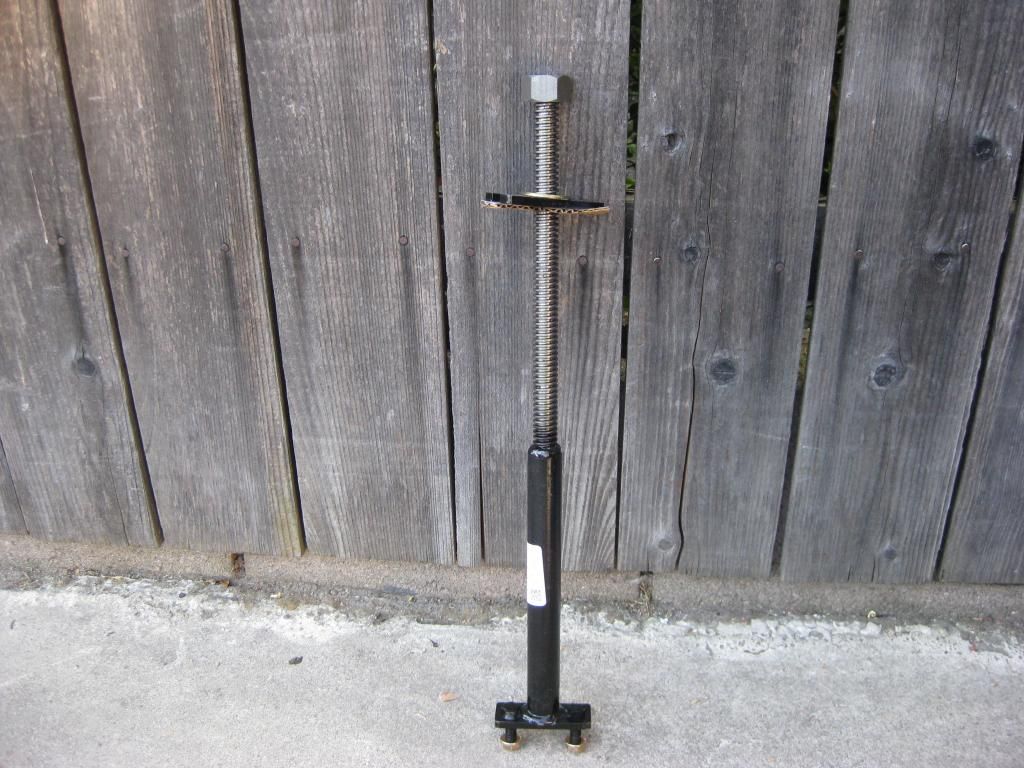
A mechanic friend of mine has made a coil spring compressor tool that mimics in some ways the tool that is shown in the Ford shop manual.  It basically compresses the spring with a plate that sits on top of the shock tower and a threaded rod that attaches to a fork that hooks onto one of the coils.  The fork is actually from an old Snap-On spring removal set and I’ve seen similar ones in my on-line search for spring compressors.  It looks like a similar tool could be made fairly easily and there may in fact be something similar already made.


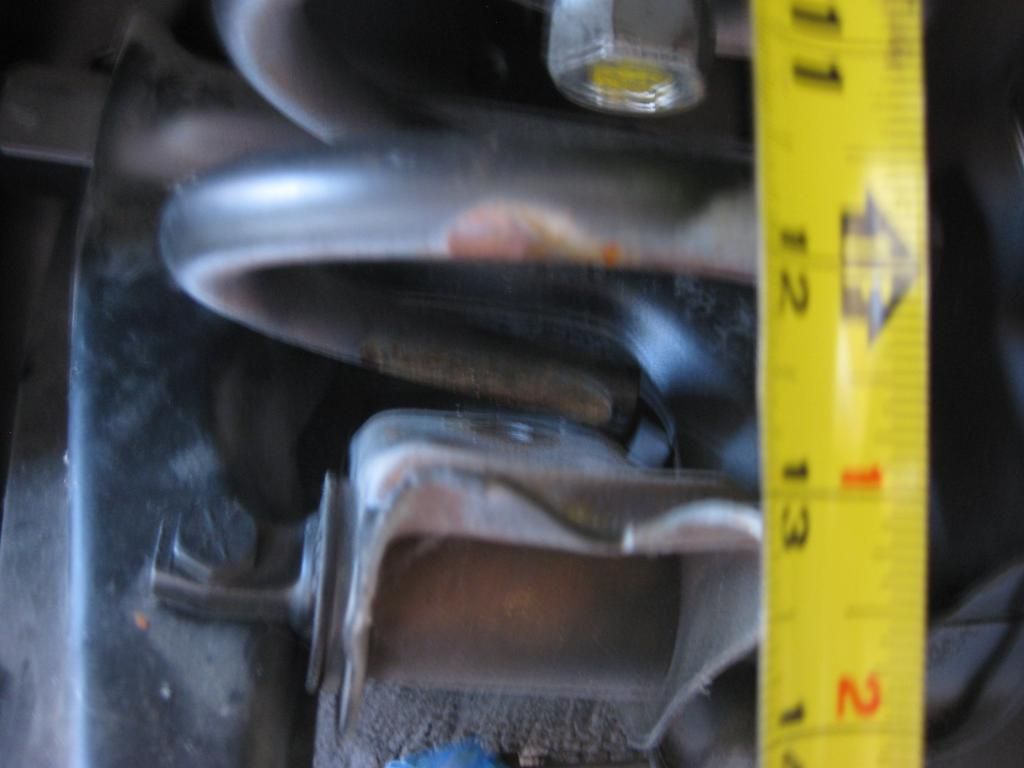
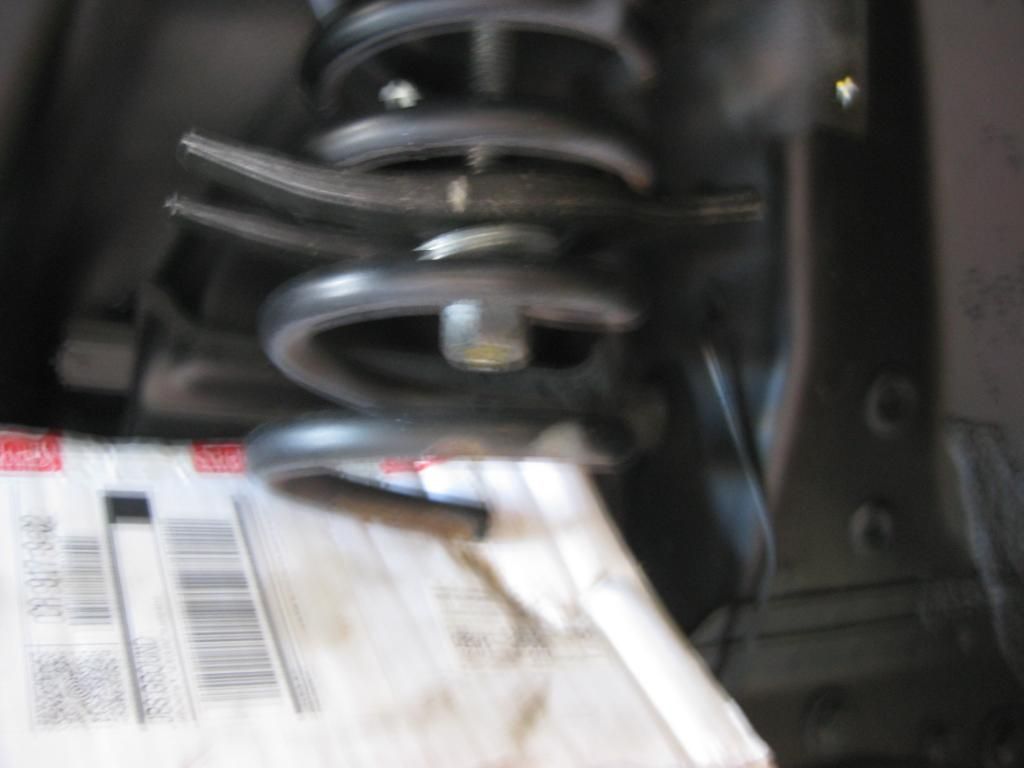
Although the Ford approach does seem better than the one in the YouTube video, I still didn't like the idea of compressing the spring far enough to clear the A-arm.  In looking at the way the suspension hangs when the car is sitting on the jack stands, it seemed like the coil was almost fully de-compressed.  Since the stock spring height is 14 ½ inches, a measurement confirmed that at just about 13 ½ inches, it is almost fully de-compressed. 


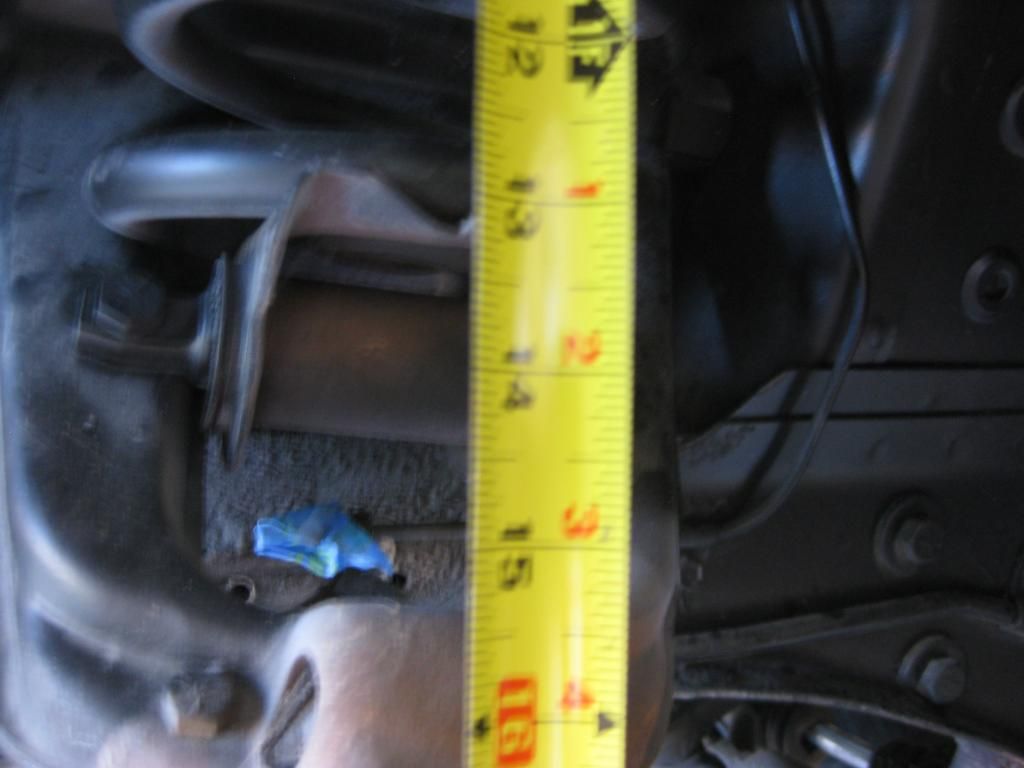
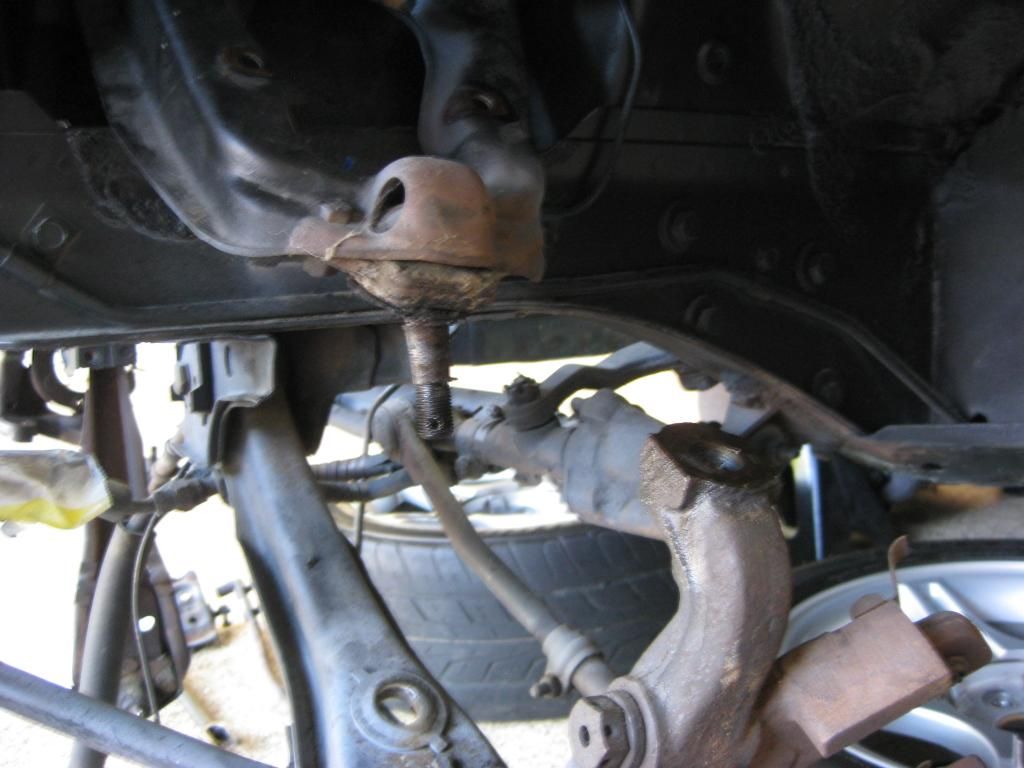
What I ended up doing was compressing the spring just enough to release tension on the spring perch/A-arm. The spring now measured 12 inches. 


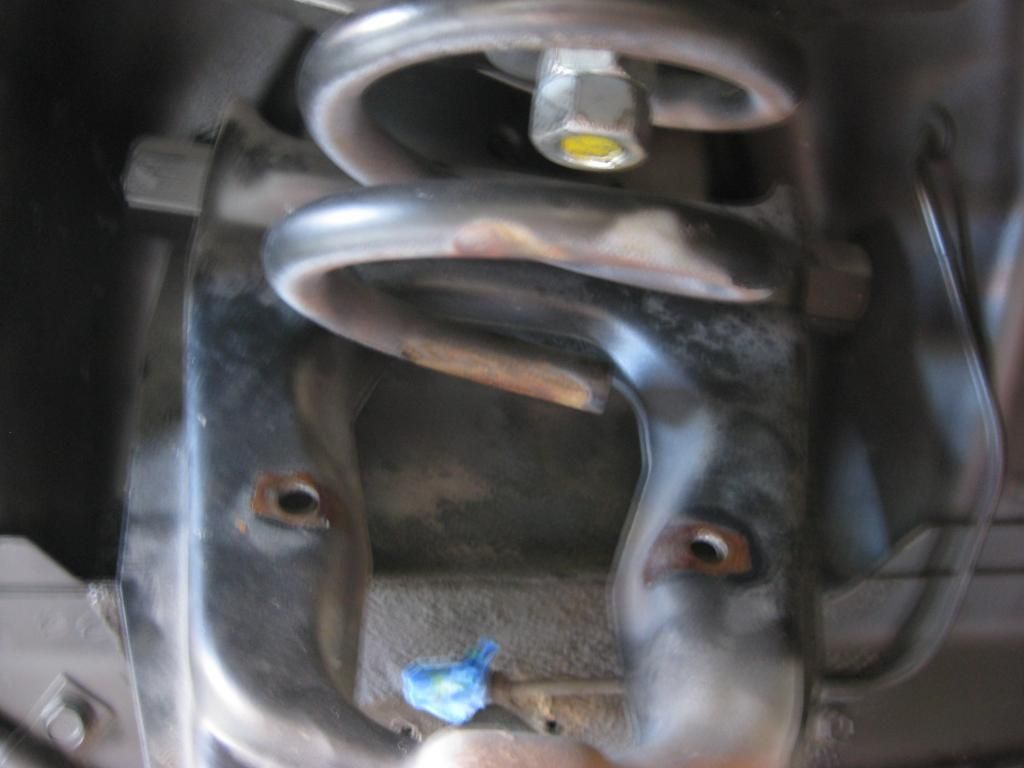
I then removed the spring perch.


Although this certainly seemed much safer than the huge amount of compression required with other techniques, I wasn’t happy with having my mug up inside the wheel well while I was doing work.  Therefore I used my own Personal Protective Equipment (PPE):


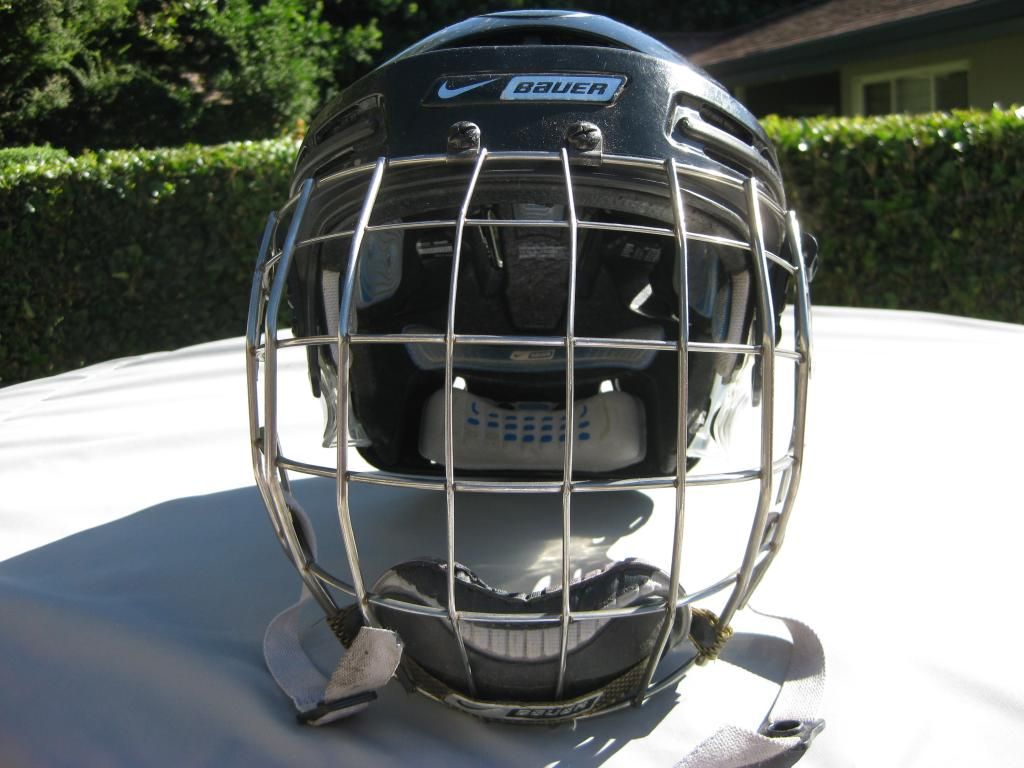
This one is NHL approved! 

I then broke loose the ball joint on the upper A-arm from the spindle using the Pitman puller technique in the above YouTube video and that allowed the A-arm to drop a little more. 


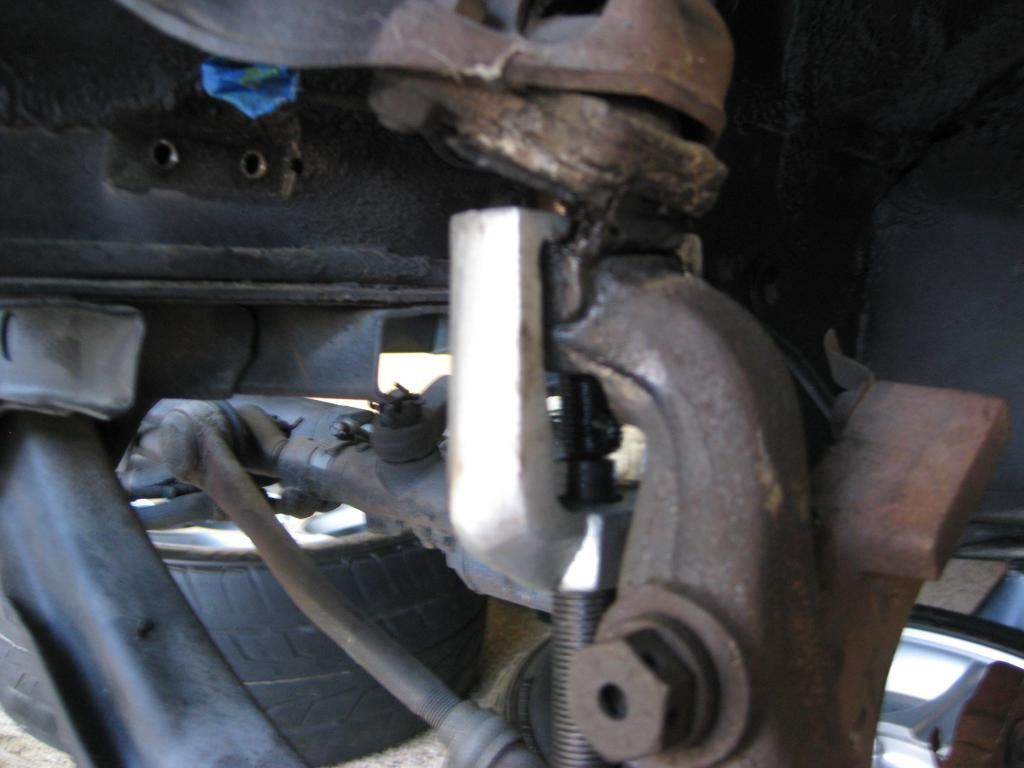
Next, I put some heavy duty cardboard in between the bottom of the spring and the A-arm.  I’m not sure this was really necessary but it looked to be better than the spring resting on the A-arm as I de-compressed the spring.


Because it wasn’t compressed all that much, I saw no need for safety chains on the spring as shown in the YouTube video.  After I de-compressed the spring to the full static position, I disconnected the fork and it dropped right out.  The first spring took me several hours to do, mainly because I was trying to figure everything out and making sure I wouldn’t hurt myself.  The compression and removal of the second spring took about 45 minutes, with 15-20 minutes spent removing some stubborn spring perch nuts.

Maybe this is old news for all of you veterans but my search never pointed me in this direction.  It also may not be the way you’d do it if all you wanted to do was to replace the springs. 

For the re-install, I plan to go in a different direction using this tool I bought from West Coast Classic Cougar (http://www2.cougarpartscatalog.com/store/p/14122-Coil-Spring-Compressing-Tool-New-1967-1973-Mercury-Cougar-1965-1973-Ford-Mustang.html):


As their instructional video shows, you attach it to the spring perch first and install it and the spring as a unit.  Here again, minimal compression is required with this technique and based on what I saw while I was removing the spring, it could save you the hassle/frustration of lining up the end of the spring with the spring perch tab when you de-compress the spring using other methods.  I’ve since seen similar tools on-line for a few bucks less but do your own homework on quality, value, etc.

I hope this tip helps. 

Stay safe!
« Last Edit: July 24, 2014, 05:07:34 PM by mechachy »

1970 Boss 302
Stolen and stripped in 1992.  On the road back.

Offline Cobrajet428

  • Jr. Member
  • **
  • Posts: 93
    • Photos of my '70 Mach 1 428Cj 4-spd
Re: Coil Spring Removal-'69-'70
« Reply #1 on: July 24, 2014, 07:00:48 PM »
Always good to see another idea for compressing front springs.

I'm in the middle of overhauling my front suspension right now and used the spring compressor shown in your last photo. It worked well, but does requires the upper arm to be removed before actually removing the spring. That isn't a problem as long as you have reason to remove the upper arm (I did).

I haven't yet re-installed the spring/perch/arms, but have some concern that as it uses the perch when compressing the spring I'll be able to rotate the perch to allow it to line up with the holes in the upper arm. Will try to remember to come back here to post results.

Offline J_Speegle

  • Administrator
  • Hero Member
  • *****
  • Posts: 24280
Re: Coil Spring Removal-'69-'70
« Reply #2 on: July 24, 2014, 08:24:55 PM »
Thanks for sharing - I prefer the other style of compressor and the ability to remove the spring compressed as a unit but the tool you show is slightly IMHO safer and closer to the original tool designed used by Ford shop mechanics of the period
Jeff Speegle

Anything worth doing is worth doing concours ;)

Offline 67gtasanjose

  • Hero Member
  • *****
  • Posts: 5087
  • "Take the MUSTANG PLEDGE"
Re: Coil Spring Removal-'69-'70
« Reply #3 on: July 24, 2014, 08:39:21 PM »
I watched the video and I have a similar compressor as they used in the video, except I used a pipe (steel tube) on the top to shorten the adjuster bolt,  to squeeze the spring together, and as Jeff mentioned, it can be removed  or reinstalled safely while it is compressed.

Is it just me, or did anybody else notice in the video a few lines about struggling with the lower shock bolts. are they not easier with the weight of the car on them? I just remove them first (on ramps or the likes) while everything is together and never really had trouble removing them. I plan on putting them on somewhat last too, reversing the order.

Richard
« Last Edit: July 24, 2014, 08:45:34 PM by 67gtasanjose »
Richard Urch

1967 (11/2/66, S.J.) GTA Luxury Coupe, 289-4V w/Thermactor Emissions, C-4, Int./Ext. Decor +many options

2005 (04/05) GT Premium Convertible, Windveil Blue, Parchment Top w/Med. Parchment interior,  Roush Body Appointments

Offline jwc66k

  • Hero Member
  • *****
  • Posts: 7171
Re: Coil Spring Removal-'69-'70
« Reply #4 on: July 24, 2014, 09:08:44 PM »
Here's my version of a coil spring removal tool. I based it on a borrowed Snap-On Tools spring remover, but the 3rd picture is a good example. Yes, you need to remove the upper "A" arm to get the spring out, and yes shocks are a pain to get out when the engine is not in the car. My rig was made around 2002 and has been used successfully many times on several years Mustangs. The threaded rod is 5/8-11 and came in a 36 inch length, so I made two. My Mustang club used to have periodic "how-to" sessions and my rig made its debut removing the LH spring from a 67 Mustang hardtop. When I got my side out, I went to the owner doing the RH side using a pair of hook type spring removal tools and asked if he need assistance? He finished the RH side with mine. He also got the second set.
Jim
I promise to be politically correct in all my posts to keep the BBBB from vociferating.

Offline sportyworty

  • Full Member
  • ***
  • Posts: 193
Re: Coil Spring Removal-'69-'70
« Reply #5 on: July 25, 2014, 12:37:02 AM »
I wrote this in our tech tip category on the 428 Registry in 2008 with over 900 views to date. Hope it will help someone here in the future.
Kerry

This is how I remove front coils with out using the dangerous compression tools. Hope this helps someone. have done at least 2 dozen over the years and my spring compressor has not come out of the box.

1 Place front of car on two jacks stands (front frame) crossmember
2 Place jack under one lower control arm and load the suspension.
3 Remove wheel, strut rod,sway bar, shock, and lastly the rubber bumper stop
4 Lower Jack
5 Pull spring from upper control arm. ( The spring may have 15lbs of load at this point) I usually use a crow bar with shop towel and pry/compress slightly from top coil down. Very little effort and sometimes they fall right out from the bottom.

To reinstall push the coil up into the tower (it will be on a slight angle) place crow bar under bottom coil and lift handle up. This will compress the spring slightly. At this point if needed use a small hand mallet and tap the coil onto the perch. Note a spade end on the bar helps I welded a piece of flat stock to mine.

Offline 79mustangcobra

  • Sr. Member
  • ****
  • Posts: 281
Re: Coil Spring Removal-'69-'70
« Reply #6 on: July 25, 2014, 11:17:59 AM »
Good info!  Thanks for posting!
1979 Mustang Cobra 5.0
2P Red and 1C Black

Stock never goes out of style
MCA #70281 -  79-93 MCA Concours Judge
Proverbs 3:5-6