Author Topic: 70 Mach 1 wheel well detail  (Read 454 times)

Offline DaveF

  • Newbie
  • *
  • Posts: 33
70 Mach 1 wheel well detail
« on: February 08, 2024, 11:41:13 PM »
I would really like to see examples of some correctly detailed wheel wells / fender wells. I?m looking for instructions on sound deadener /paint and overspray in these areas. I have looked at the MCA judging guide but I need more information. Thanks
1970 Mustang Mach One
428 SCJ w/Drag Pak 3.91
Metuchen plant
Built 9/5/1969

Offline CharlesTurner

  • Charles Turner
  • Administrator
  • Hero Member
  • *****
  • Posts: 7632
Re: 70 Mach 1 wheel well detail
« Reply #1 on: February 09, 2024, 01:55:42 AM »
Would be best to include details about your car in your signature or mention the build date and assembly plant.
Charles Turner - MCA/SAAC Judge
Concours Mustang Forum Admin

Offline J_Speegle

  • Administrator
  • Hero Member
  • *****
  • Posts: 24247
Re: 70 Mach 1 wheel well detail
« Reply #2 on: February 10, 2024, 10:58:31 PM »
Don't use the MCA rules for details like this. They are some what generic and in other areas just wrong as far as originality

Post the plant and when the car was built like Charles provided above and we can go from there
Jeff Speegle

Anything worth doing is worth doing concours ;)

Offline DaveF

  • Newbie
  • *
  • Posts: 33
Re: 70 Mach 1 wheel well detail
« Reply #3 on: March 13, 2024, 01:14:28 AM »
Okay, It was Metuchen built. The date was 9/5/1969. If you need more info let me know.
1970 Mustang Mach One
428 SCJ w/Drag Pak 3.91
Metuchen plant
Built 9/5/1969

Offline J_Speegle

  • Administrator
  • Hero Member
  • *****
  • Posts: 24247
Re: 70 Mach 1 wheel well detail
« Reply #4 on: March 18, 2024, 04:41:08 PM »
Okay, It was Metuchen built. The date was 9/5/1969. If you need more info let me know.

Thanks so focusing on very early examples

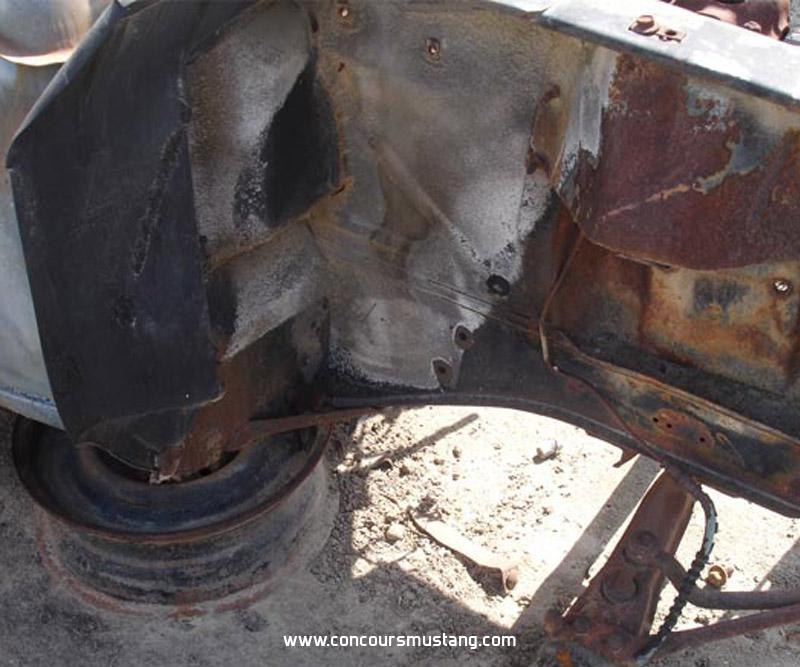
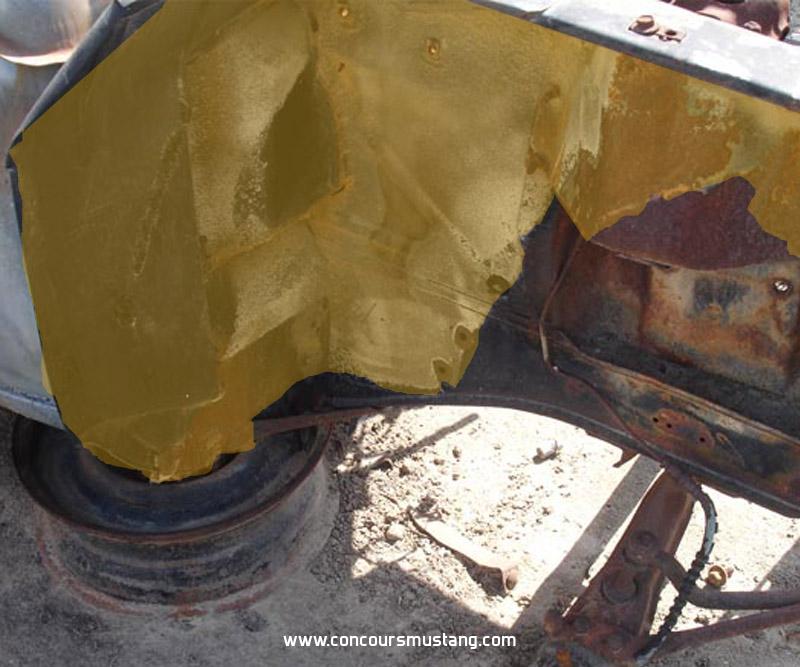
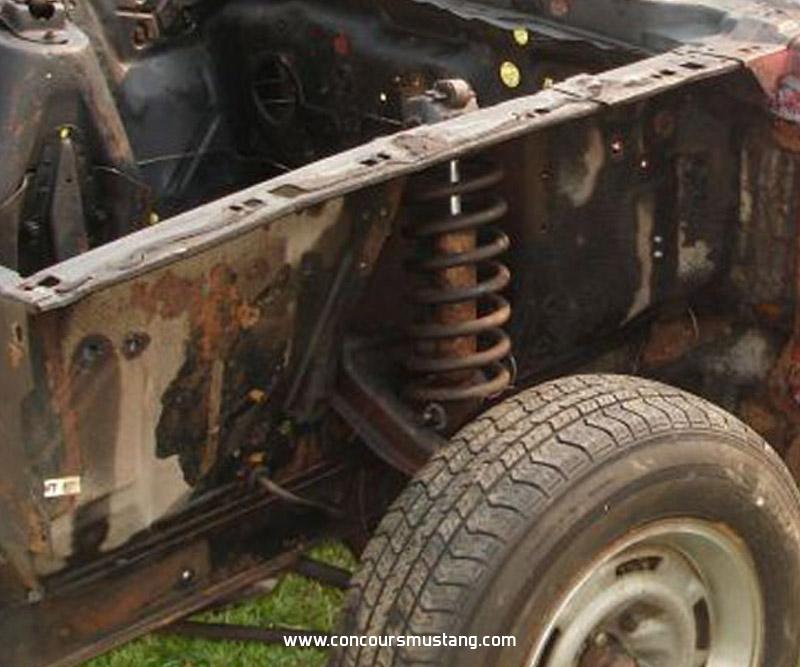
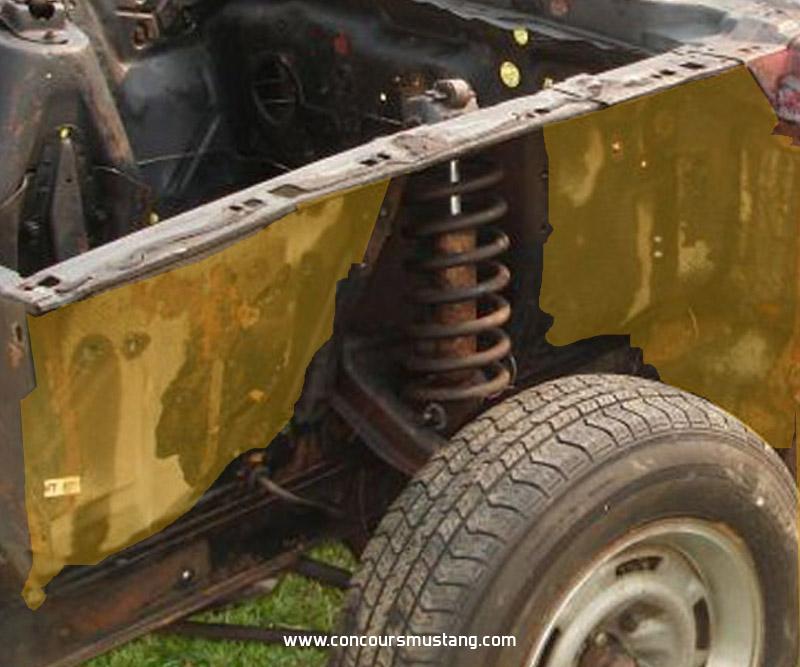
Note:In most if not all of the pictures the front and rear splash shield are not on the examples so we see pretty sharp edges at the front of the wheel well and at the rear we see the edge of the cowl but not the shield. In both areas the sound deadener pattern continued to on the splash shield with the goal to cover the shield and add some sealant to the joint where the shield and the inside of the fenders met. This was not always completed mostly at the front outer edge to fender joint.

Sound deadener was applied directly over the inner fender panels that were painted semi-gloss black earlier in the process and after the car was pretty much complete with the front wheels yet install or in place it appears. Or at least that makes the application process for us much easier
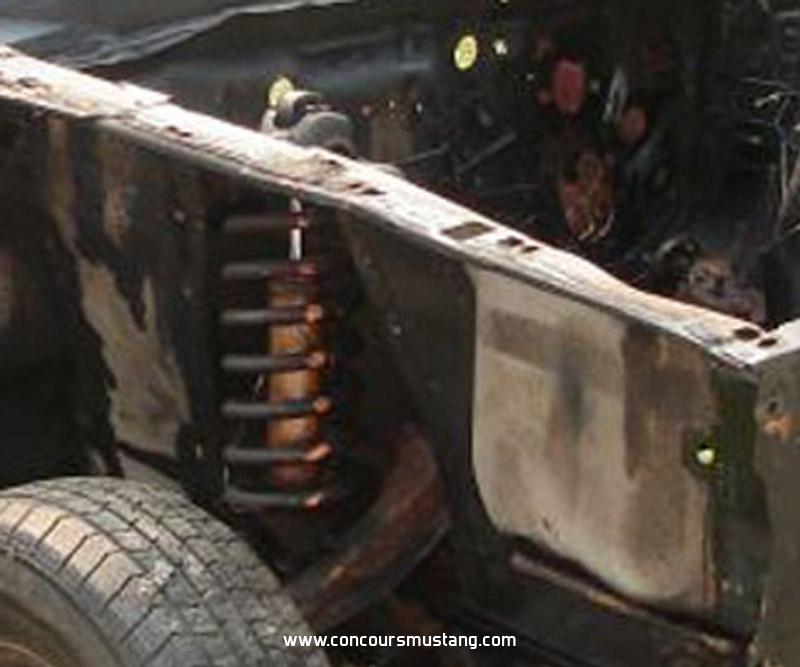
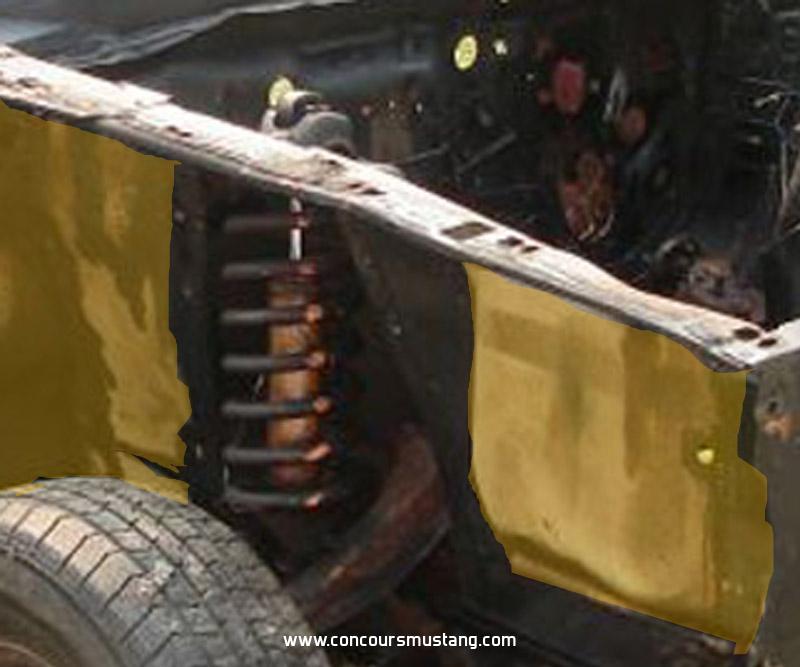


Drivers side


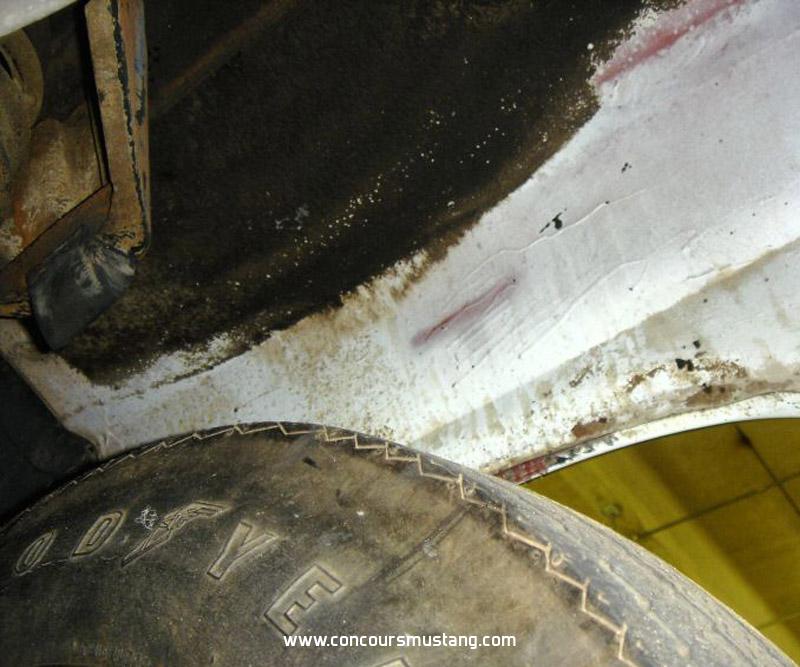
Bottom of the fender often got a pass of the application wand as shown in the example below


Hope this helps


Jeff Speegle

Anything worth doing is worth doing concours ;)